The concept of time is something that has always fascinated us as humans. Although we’ve learned ways to interpret it, it is still a very mysterious concept. Unlike many forms of photography, timelapses are by far the most unique. Mastering the technique of timelapse photography is definitely not something you can master overnight. It requires a lot of patience and practice, but as a result it can be very rewarding.
What is a Timelapse?
Before diving into the world of timelapses, it is important to first understand how they work. To create a timelapse you can use one of two techniques. You can either take a long video over a period of time, or you can use a timer-remote to set your camera to take repeating photos. The more efficient and preferred method is to do photos as opposed to videos. Photos are preferred because timelapses typically take a while to capture and the file sizes tend to be smaller. Your computer can handle a long series of photos much easier than a long video. Photos can also achieve a much higher quality and dynamic range. Common subjects for timelapses include the sky, nature, traffic, people and pretty much anything that experiences movement or change over a period of time.

History of Timelapse Photography
Thanks to the development of digital single reflex camera systems, timelapse photography has become fairly easy to accomplish. The concept of timelapse photography goes back as far as the late 19th century. The very first timelapse used in a film and aired to the public was by the french filmmaker Georges Méliès in his 1897 motion picture Carrefour De L’Opera. A few years later F. Percy Smith made his 1910 film titled “The Birth of a Flower” and became one of the first filmmakers to pioneer the art towards nature. Arthur C. Pillbury is also remembered as one of the earlier pioneers of timelapse photography in Yosemite when he developed a specific camera just to document timelapses of flowers growing throughout their life.
Modern Day Timelapses
Over the next few decades photography and timelapse photography continued to progress at an exponential rate. Things really took a leap towards the second half of the 1970s when the first digital cameras were starting to surface. Photography since then would become drastically easier, more affordable and more available to the everyday consumer. This would spur the progression and development of new techniques even more. Upon the development of computer technology towards the close of the 20th century, timer remotes and more post processing techniques would be developed. Timelapses done nowadays almost solely digitally. Nowadays timelapses have become even more cinematic with the use of sliders and extremely slow panning devices.
Types of Timelapses:
Because timelapse technology has progressed for over a century now there are endless possibilities and ways to approach it. Long exposure timelapses, hyperlapses, short term timelapses, and long term timelapses are just a few of the many types of timelapses.
Long Exposure Timelapses
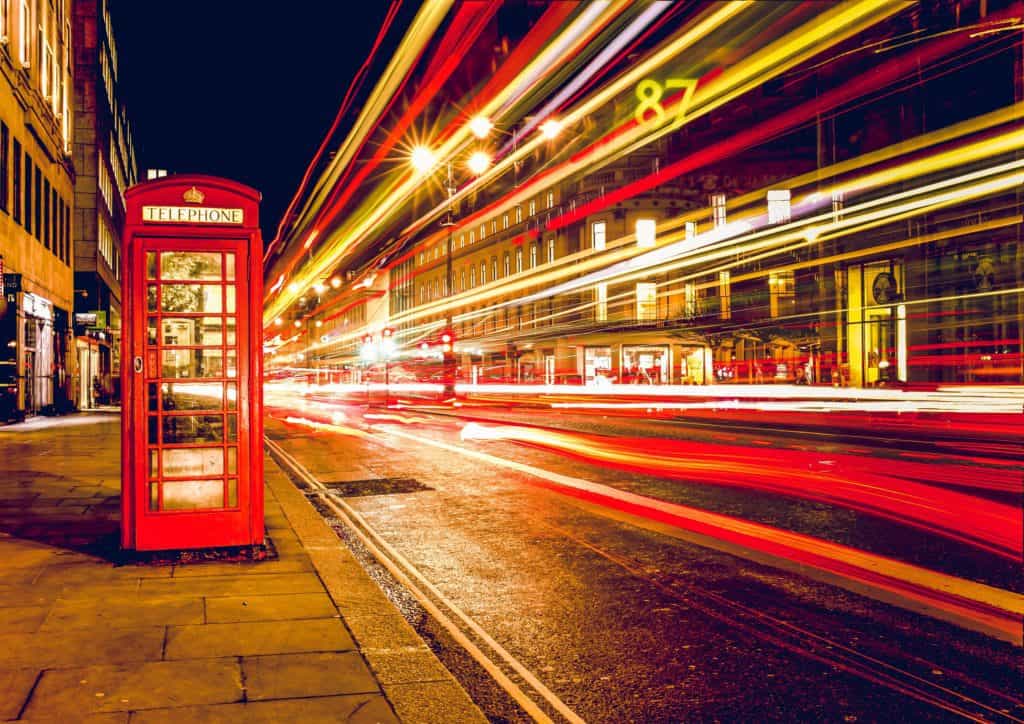
Mastering the art of long exposure timelapses first requires a great deal of practice and a solid understanding of manual camera settings.  With an understanding of manual settings on a DSLR, your horizons as a photographer are greatly expanded. You can capture things like the milky way, light trails, motion blurs, and create dream-like effects with bodies of water. This style of timelapse is not usually a go-to for photographers in Virginia Beach looking to capture a realistic looking environment because the use of a slow shutter usually distorts things and will often create motion blur but when embraced and used intentionally these compositions can be very dreamy and abstract.
Hyperlapses
Hyperlapse photography is a much more technical and intricate approach to creating timelapses. Hyperlapses are taken the exact same way as timelapses only the tripod is slowly moved along a path. In the moment, the movement of the tripod’s position will have little to no effect but over the course of several hours when you speed it up it will capture not only the lapsing of time of the elements around the camera, but it will also create the illusion of moving through a space simultaneously. A good example of this technique can be seen in Peter Jablonowski, Thomas Pocksteiner, and Lorenz Pritz’s film “A Taste of New York”. This form of timelapse photography requires a great deal of patience and very intricate approach. However because of the amount of work required, the result can be quite rewarding and unique.
Short-term Timelapses
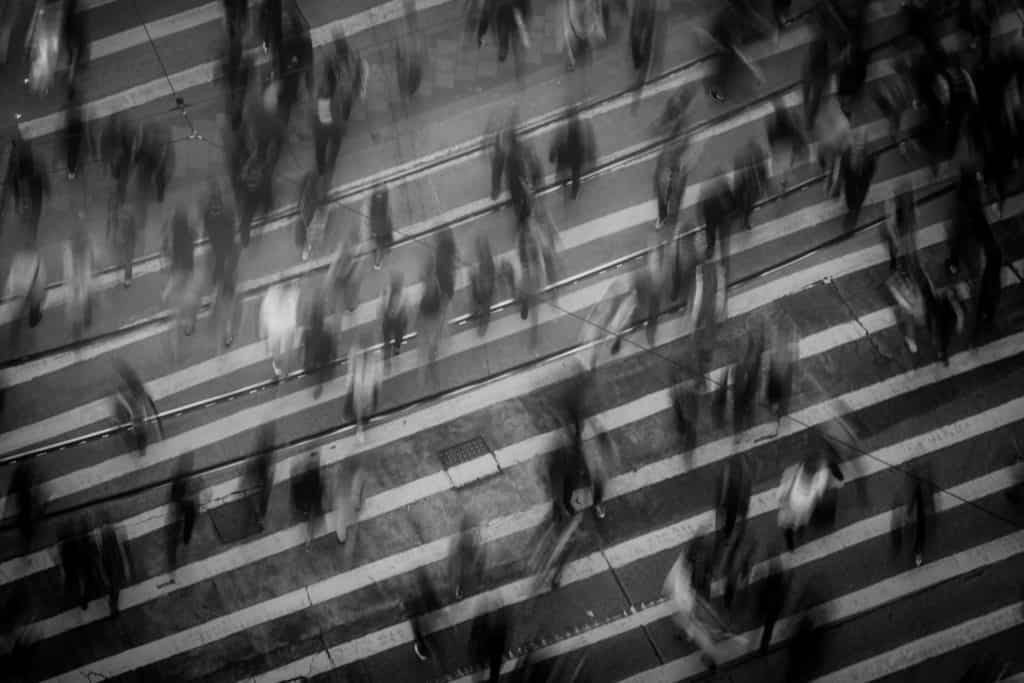
“Short-term” is a term I use to describe for timelapses of faster moving objects. Examples of objects moving faster include compositions with things like people walking or cars driving. Because the motion of these objects are already visibly apparent to the human eye in normal time you don’t necessarily have to speed them up as fast and therefore do not need to record them for nearly as long as you would for something like a sunset or a flower blooming. Although I would typically recommend using a timer remote to take photos for a timelapse, you can hypothetically achieve a timelapse effect with video as well. If are only limited to taking video for some reason then this is the most ideal style of timelapse for you.
Long-term Timelapses
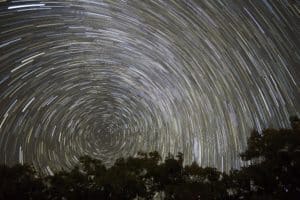
The antithesis of a short-term timelapse would be a long-term timelapse. These require much more patience and much more time to be successful. These include timelapses of the slower moving subjects in which their motion isn’t visibly apparent in real time. Examples of these subjects mainly include celestial bodies such as stars, the sun, the moon, clouds, etc. Sometimes very intricate timelapses on a professional level can take days and even weeks or months. Long term timelapses aren’t necessarily hard they just require much more time and effort.
Tips, Tricks, & Techniques
Stable Foundation
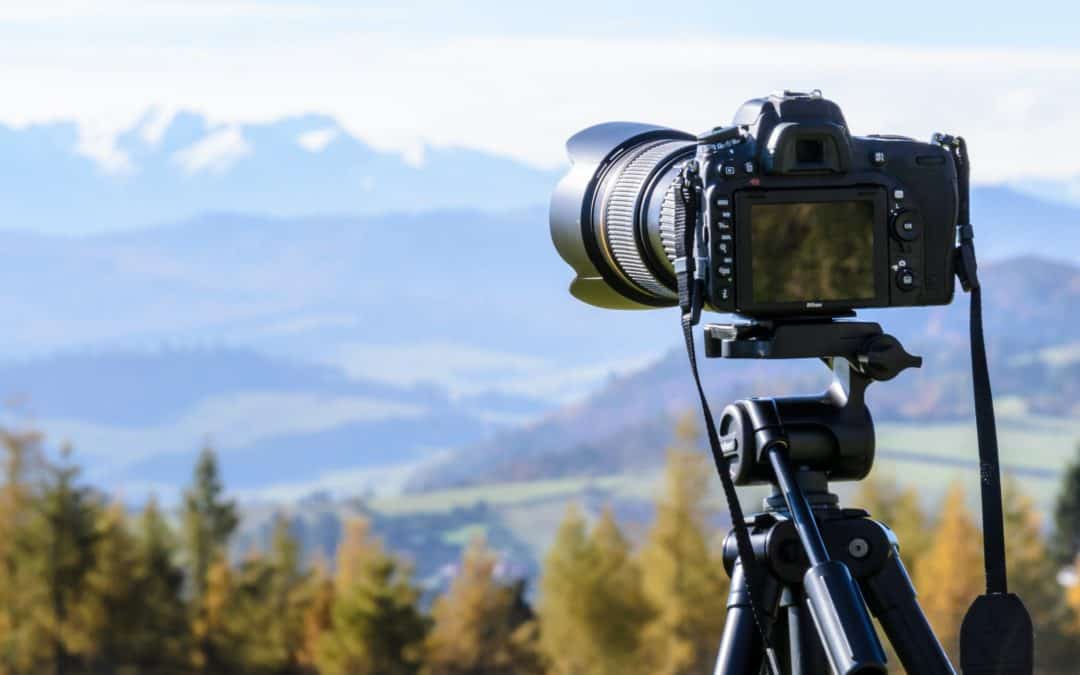
Above all else, a very stable foundation and having patience are the two most crucial requirements for most timelapses. You can use the ground, a tripod or basically any stable foundation you can find. I’d definitely suggest to use a tripod but if you are on a budget or aiming for a unique composition, other alternatives will suffice. And don’t get me wrong, keeping the camera still is only the traditional approach to timelapse photography. The beautiful thing about photography is that there are no limitations to how you want to approach it. Many people actually prefer a handheld camera when making timelapses and hyperlapses. These tips are simply suggestions and at the end of the day it is what you want it to be. Before diving into it you might also want to check out our blog on lighting.
Patience, Patience, Patience!
One of the most valuable lessons I have learned is that so many natural occurences are very slow processes and you just cannot rush these compositions. I would encourage you to always drastically overestimate the amount of time you need for a timelapse. Having too much footage is much better than not having enough. One of the most frustrating feelings is to get home, only to find out your timelapse not effective because you didn’t let your camera sit long enough. You also want to make sure you really take the time to find the perfect composition before you lock your tripod in. Don’t hesitate to walk around a bit and explore your options. You’ll learn that the more thought and time you put into it, the more you will get out of it.

There are many factors that go into timelapse photography but with practice, the processes can be very simple. Whether you’ve been shooting for years or this is your first time, timelapse photography is something anyone can accomplish. Remember there are no rules to this and you can approach it from any direction you want. The possibilities are endless. Don’t stress about things too much and remember to always have fun with it.

