Reflectors, neutral-density filters and diffusion solve different lighting problems. A reflector redirects light, an ND filter reduces the amount reaching the camera, and diffusion changes how a light source illuminates the subject.
Choose the tool by the problem in the image rather than treating them as interchangeable accessories. Begin by observing the direction, brightness, color and hardness of the existing light.
Use a reflector to redirect available light
A reflector can lift shadow detail, add shape to a face or product, or create a highlight that separates a subject from the background. Its effect depends on the light hitting it, its size and its position relative to the subject.
Move it while watching the image. A small change in angle can move a bright reflection off the subject entirely. Bring it closer for a stronger effect, while checking that the result still looks appropriate to the scene.
Reflectors work indoors as well as outdoors. Near a window, a white surface can return some light to the shadow side without adding another powered fixture. Secure the reflector so it does not drift into the frame or move between takes.
Choose the surface for the result
White produces a comparatively neutral, gentle bounce. Silver can return more directional, intense light and may create distracting highlights if placed carelessly. Gold warms the reflected light and can be unsuitable when accurate color is important.
A black surface absorbs or blocks stray light instead of reflecting it back. This negative fill can increase contrast when the room is bouncing light everywhere.
The best size and construction depend on the setup and portability you need. A rigid board is not automatically superior to a folding reflector; both need suitable placement and support.
Use an ND filter to control exposure
A neutral-density filter reduces the light entering the lens. It can help maintain a chosen shutter speed or a wider aperture in bright conditions, rather than forcing an exposure change that alters motion or depth of field.
For video, this can be useful when the desired motion rendering requires a shutter setting that would otherwise overexpose the scene. For photography, it can make a longer exposure possible in daylight.
An ND filter does not itself soften a light source. It affects the exposure of light passing through the lens, so it will not fix harsh shadows in the same way as moving or diffusing a light.
Fixed, variable and graduated filters
A fixed ND has a defined strength. A variable ND offers adjustment, but its usable range, color shift and artifacts depend on the filter and lens. Test the combination, especially at wider angles or near the strongest setting.
A graduated ND changes strength across the frame and can help balance a bright region such as a sky. Its transition must suit the scene; an irregular skyline can make the effect visible.
A tripod is useful when the intended shutter speed is too slow for a stable handheld shot. It is not a requirement merely because an ND filter is attached.
Use diffusion to change the light reaching the subject
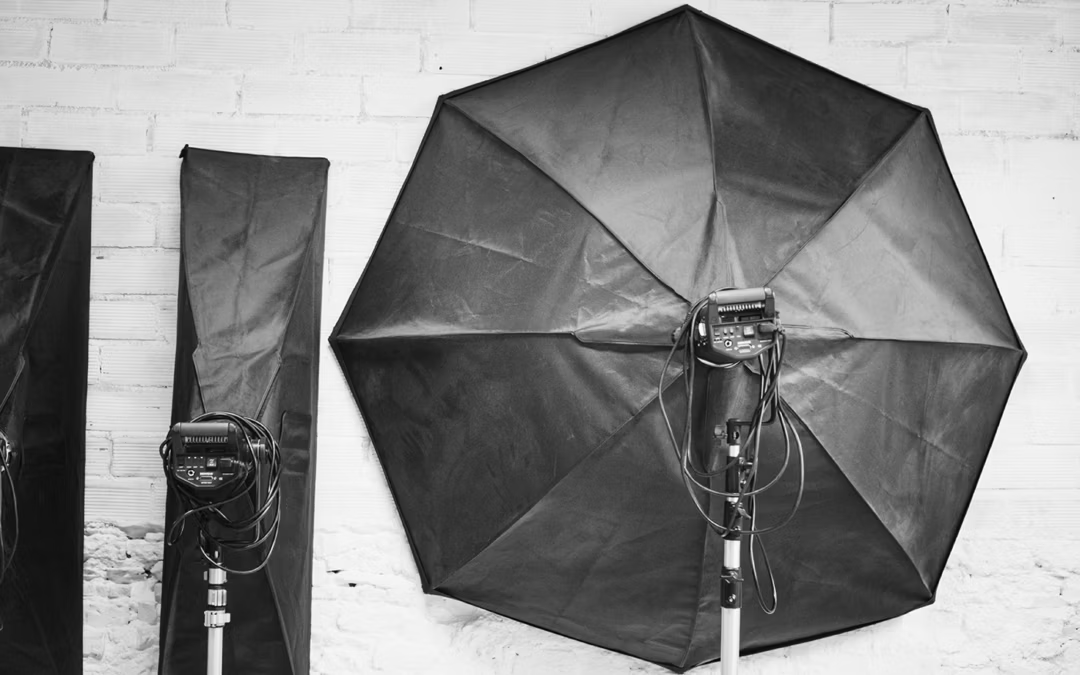
Diffusion scatters light. When the illuminated diffusion surface becomes a larger apparent source relative to the subject, it can create softer shadow transitions.
Placement matters. Moving a small diffuser far away does not necessarily produce the same softness as a large source close to the subject. Diffusion also reduces intensity, so check exposure after adding it.
Use materials and supports appropriate to the light source and setup. Watch reflections in glossy products, water and glass; the shape of the source may become visible in the image.
Build and test a simple setup
Start with one main source and a clear camera position. Take a reference frame, then change one element at a time: add a reflector, adjust diffusion or use ND to preserve the desired exposure settings.
Review skin tones, product color, highlights and shadow detail. For video, check that the setup remains consistent when the subject moves. Record a short test rather than judging only the camera screen.
The iPhone content guide applies these ideas to a lightweight setup. The video-ad production guide explains how lighting fits the broader shoot, and the timelapse guide covers changing light over time.
For planned business imagery, Bryant Digital's commercial photography in Virginia Beach connects the lighting approach with the subject, brand and intended use.